Skip to content
  • Feedback
  • Homepage
  • University Clearing
  • University Clearing
  • Getting Started
  • Handling Calls
  • Classic Home
  • End User License Agreement
  • Administrator Knowledge Base
  • Supervisor Knowledge Base
  • Agent Knowledge Base
Agent Knowledge Base
Release Notes
Agent Knowledge Base

Agent Portal and Setup

  • Getting started
    • Your Inbox
    • Agent Portal Overview
    • What I can see on my screen after I log in
    • Changing my password
    • What to do if I forget my login password
    • Agent Setup Guide
      • How to log in
      • Portal walk through
      • Status Settings
      • Making an internal call to another agent or group
      • Selecting how I receive calls
  • Communication
    • Configuring audio settings
    • Changing my contact method
    • Contacting a customer
    • Searching a queue
  • Status management
    • Using the status bar
    • Changing my current status
    • Indicating if I’m available or on a break
    • Making myself available on specific channels and/or queues only
    • Viewing the status of other agents and queues
  • Recent activity
    • Recent activity summary
    • Viewing detailed statistics
    • Viewing summary information for queues in my group(s)

Handling Calls

  • Inbound Calls
    • Answering a call
    • Having calls delivered to me automatically
    • Pick up a call that is ringing on another agent’s phone
  • Outbound Calls
    • Calling from the Outbound panel
    • Calling from the Quick Dial panel
    • Calling from your saved contacts
    • Calling from your recent calls list
  • Call Management
    • What I can see on my screen when I’m on a call
    • Using the call control buttons
    • Tasks to complete when your call ends
    • Recording a call
    • Transferring a call to a third party
    • Viewing recent calls
    • Receiving desktop notifications
    • Agent Scripts for calls

Handling Emails

  • Logging into your email server
  • Handling emails
  • Responding to an email
  • Sending an ad-hoc email
  • Activating an email
  • Forwarding an email
  • Parking an email
  • Classifying an email
  • Inserting text blocks
  • Selecting email attachments
  • Viewing and taking pending emails from queues
  • Deciding which queue’s items to take first
  • Returning or transferring an item to a queue
  • Viewing the history of an email
  • Viewing the activity timeline of an email

Handling SMS Messages

  • Sending an SMS message
  • Sending SMS messages during webchats

Handling Webchats

  • Introduction to Webchat
  • Using Webchat
  • Using Webchat Templates
  • Activating and Parking a Webchat
  • Transferring Webchats
  • Classify and Wrap-up a Webchat
  • Sharing Chat History with a Customer
  • Webchat
    • Handling webchats
    • Responding to a webchat
    • Activate a webchat
    • Sending a chat history to the webclient
    • Flagging a webchat as abusive
    • Returning or transferring an item to a queue
    • Viewing pending webchats and taking webchats from queue(s)
    • Deciding which queue’s items to take first
    • Contacting a customer via the current chat session
    • Pausing a webchat
    • Using the chat control buttons
    • Extending or ending my wrapup time
    • Inserting a template
    • Classifying a webchat

Handling Payments

  • Managing Live Payments
  • Taking, sending or refunding a payment
  • Taking pending payment transactions from queues
  • Viewing payment transactions

Scheduled calls

  • Scheduled calls
  • Scheduling a callback for the current call
  • Scheduling a callback between calls
  • Viewing and changing times for scheduled callbacks
  • Making a scheduled callback

Contacts

  • Confirming a customer’s contact record
  • Managing contacts
  • Viewing a customer’s contact history
  • Contacting a customer by email or social media
  • Updating a customer’s details
  • Looking up a customer’s contact record
  • Creating a new contact record

Third-party CRM Platforms

  • Third-party CRM platforms overview
  • Using the Contact softphone within Salesforce
  • Using the Contact softphone within MS Dynamics
  • Using the Contact softphone within Zendesk
  • CRM Troubleshooting
  • CareConnect
    • CareConnect introduction
    • Making outbound calls to patients
    • Receiving patient’s calls
    • Searching for patient’s details
  • ConConnect
    • Logging into ConConnect
    • Making an Outbound call using ConConnect
  • CareConnect 2.0
    • CareConnect 2.0 Introduction
    • Enhancements and new features for CareConnect 2.0
    • View a patient’s details using CareConnect 2.0
    • Using CareConnect 2.0 to handle patients calls
    • Managing your status and availability using CareConnect
    • Sending a SMS using CareConnect

Troubleshooting

  • Capturing intermittent faults using Bug Tracking
  • Troubleshooting issues with receiving calls
  • Checks to resolve issues with WebRTC
  • Diagnosing Call Quality Issues with WebRTC Diagnostics
  • Home
  • Docs
  • Third-party CRM Platforms
  • CareConnect 2.0
  • CareConnect 2.0 Introduction
View Categories

CareConnect 2.0 Introduction

CareConnect is a standalone Windows app that works with popular healthcare CRMs, EMIS and SystmOne. You will likely be used to using these apps to access and update patients electronic health records.

Your company administrator should have installed the CareConnect app on the device you use to handle patient information. If CareConnect is not available you should speak to your administrator. Once CareConnect has been installed it will auto update when new functionality becomes available.

Why CareConnect? #

CareConnect uses Horizon Contact to allow you to manage patient calls and view information about the patient. By using CareConnect you won’t need to switch between EMIS/SystmOne and CareConnect when dealing with patient enquiries so you can stay focused on the task at hand.

With CareConnect you will be able to:

  • Search for patients
  • View patients details
  • Handle incoming and outgoing calls and complete call wrap-up
  • Update your status and queue availability

Log into CareConnect #

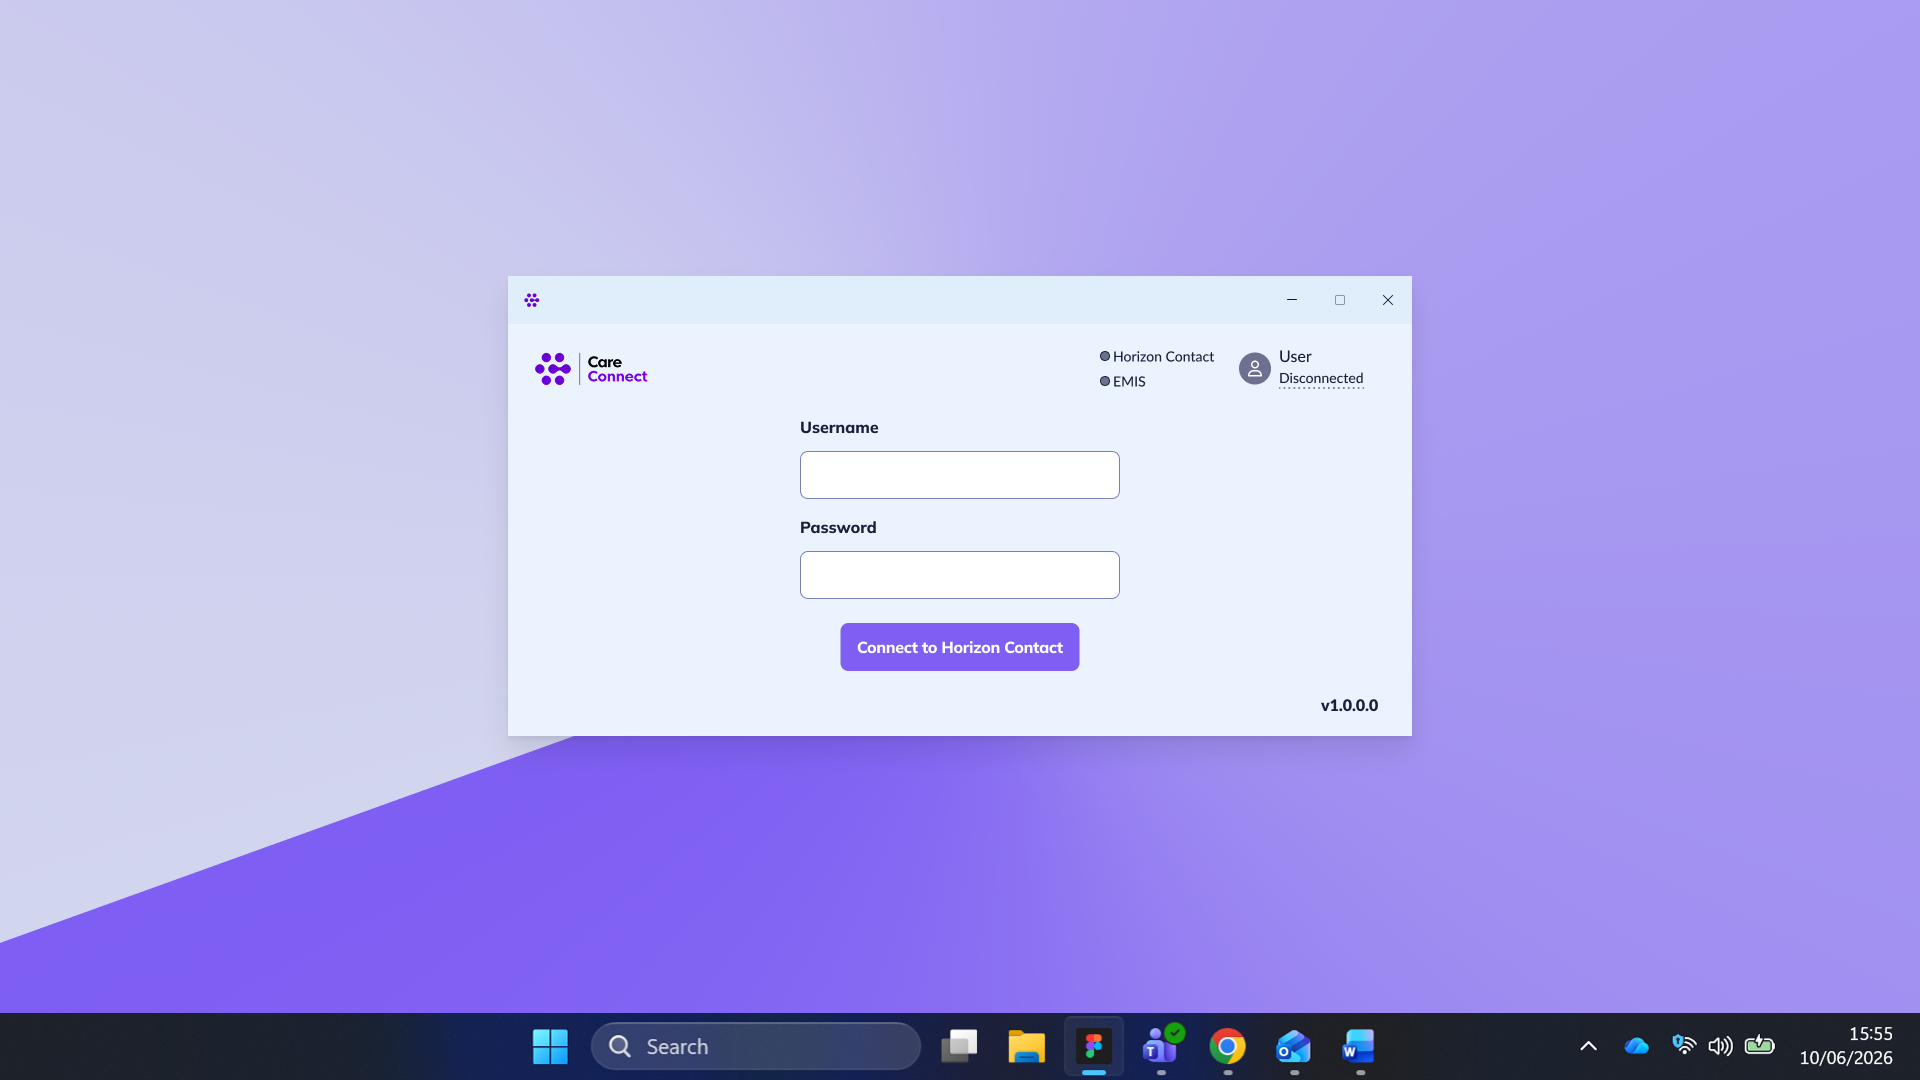
Before using CareConnect you first need to log into EMIS or SystmOne. You can then log into CareConnect using your Horizon Contact username and password. Once logged in you CareConnect will set your availability as Available and you will be able to start handling patient calls.
Selecting your contact method #

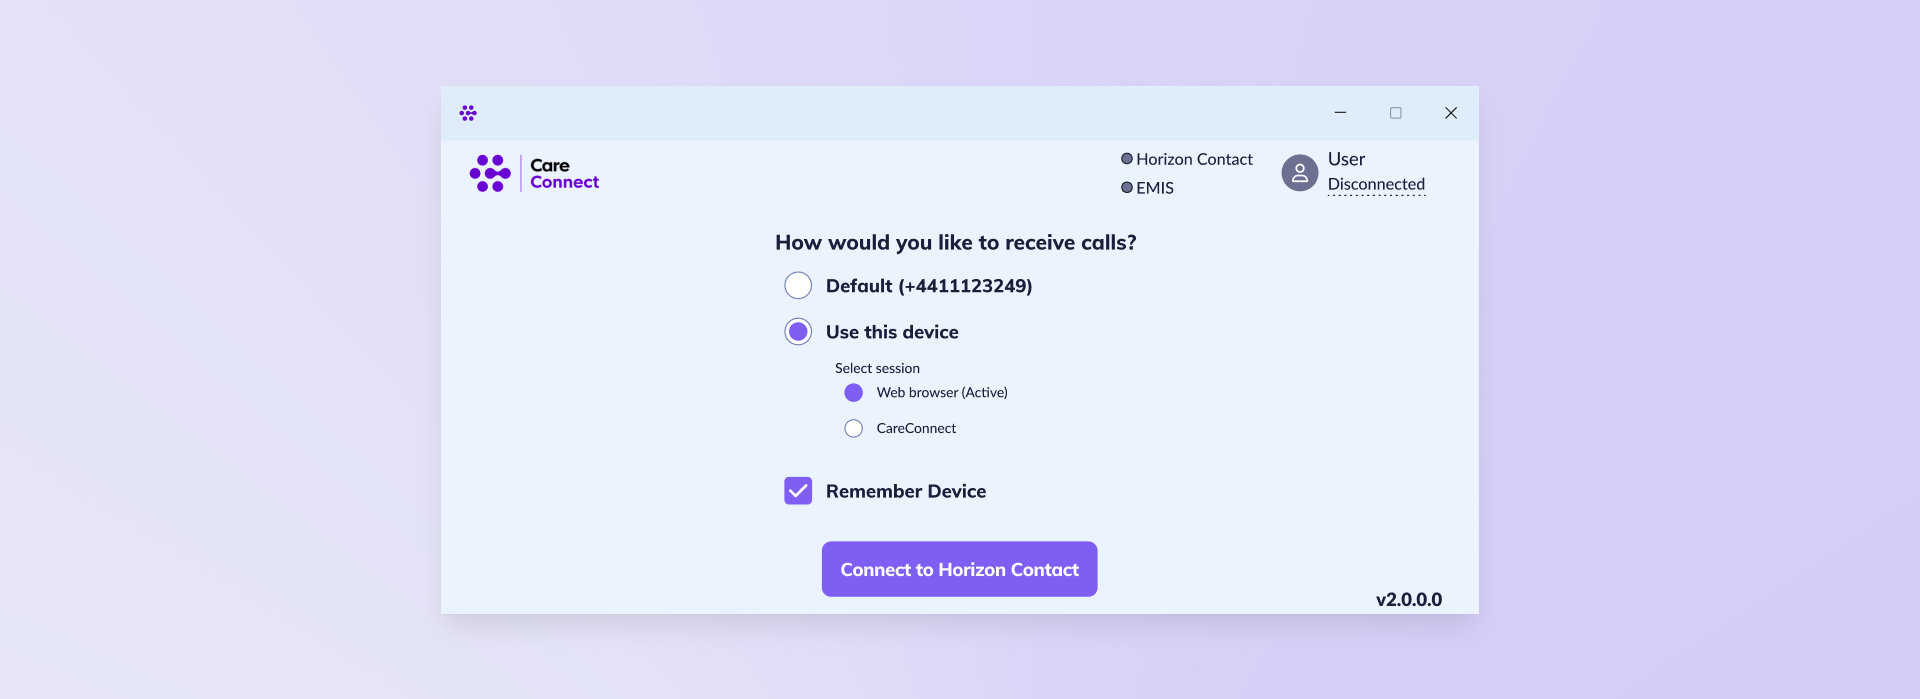
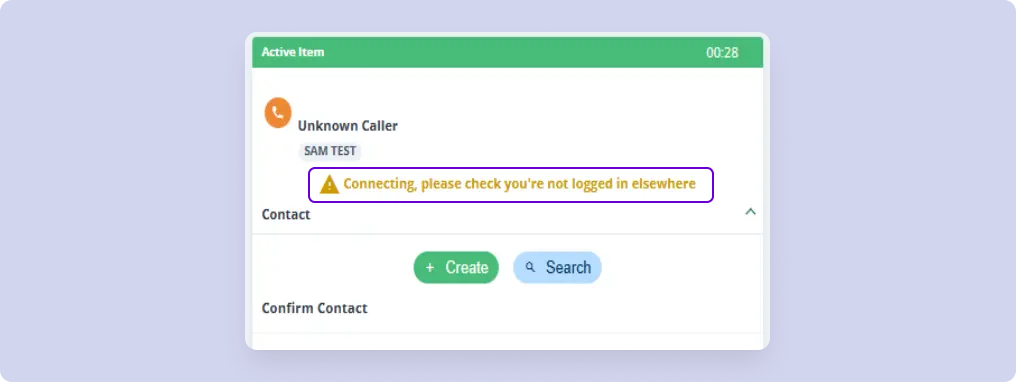
If you are also logged into Contact via your web browser you will be asked to select what method you want to use to receive calls:

Specific SystmOne Requirements #

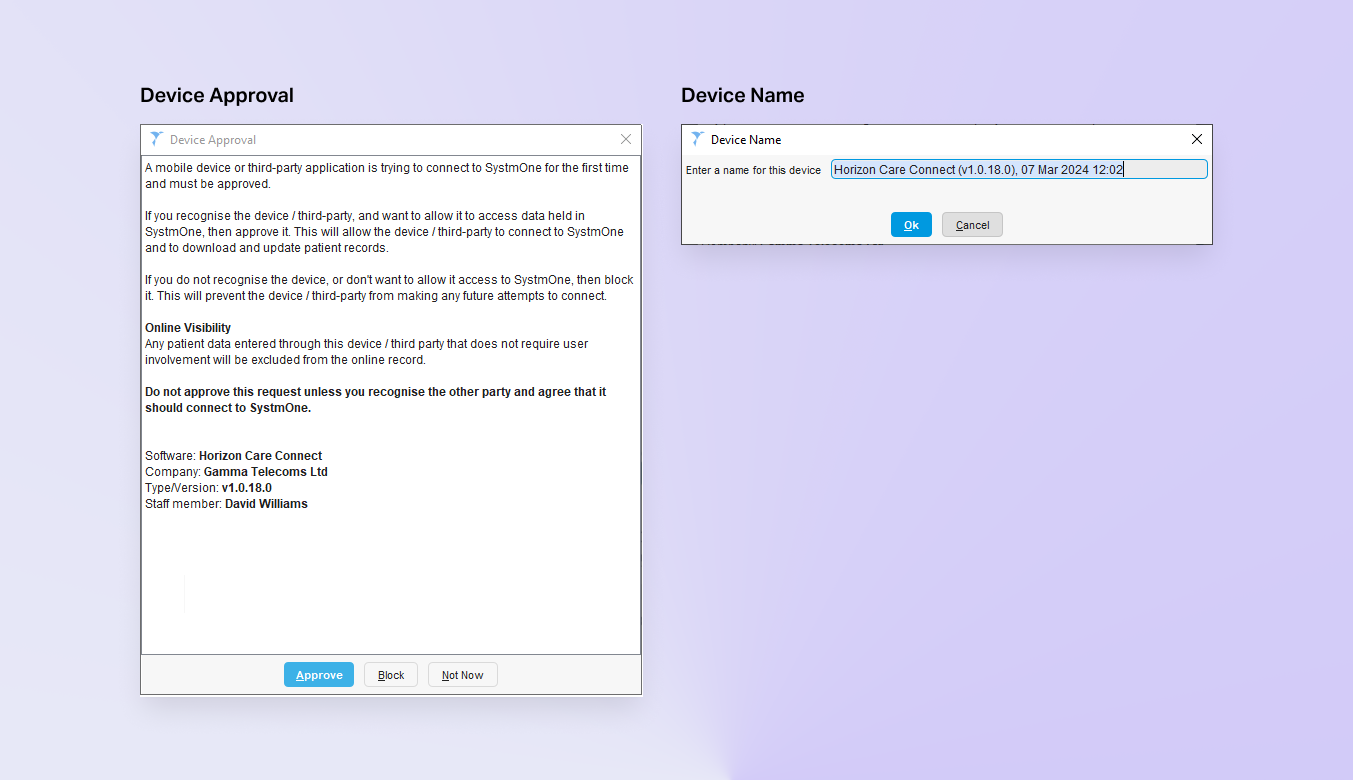
If you are logging into SystmOne on a new device or the first time, you will need to approve the device. Following approval you will also be able to enter a name for the device.
How did you find this training?
Sending a SMS using CareConnectEnhancements and new features for CareConnect 2.0
Table of Contents
  • Why CareConnect?
  • Log into CareConnect
    • Selecting your contact method
  • Specific SystmOne Requirements

End User License Agreement